JANUARY, 2015
The Fujifilm FinePix X100 has, since its launch in 2010, become something of an iconic camera with its classic styling and skilful fusing of analog controls and innovative digital technologies.
I became a fan the first time I looked through the viewfinder of an X100 in a camera store in Singapore in 2011. I never did buy one, but handling that camera was the reason I became a Fujifilm shooter, starting with the wonderful compact X10 and moving onto the steadfast X-E1. I resisted the pull of the improved X100S when it was introduced and bought an X-E2 instead. The newly released X100T with its various internal and external refinements was, however, too much of a temptation and I’m now the very happy owner of an outstanding example of Japanese engineering.
I’ve read a lot of reviews of this camera, and there’s a lot of love out there for it. Rather than review the X100T, I decided to test it out on the streets, and in the tradition of classic street photography, using zone focusing. It wasn’t a particularly scientific test, but it was an interesting experiment and a lot of fun.
The gear
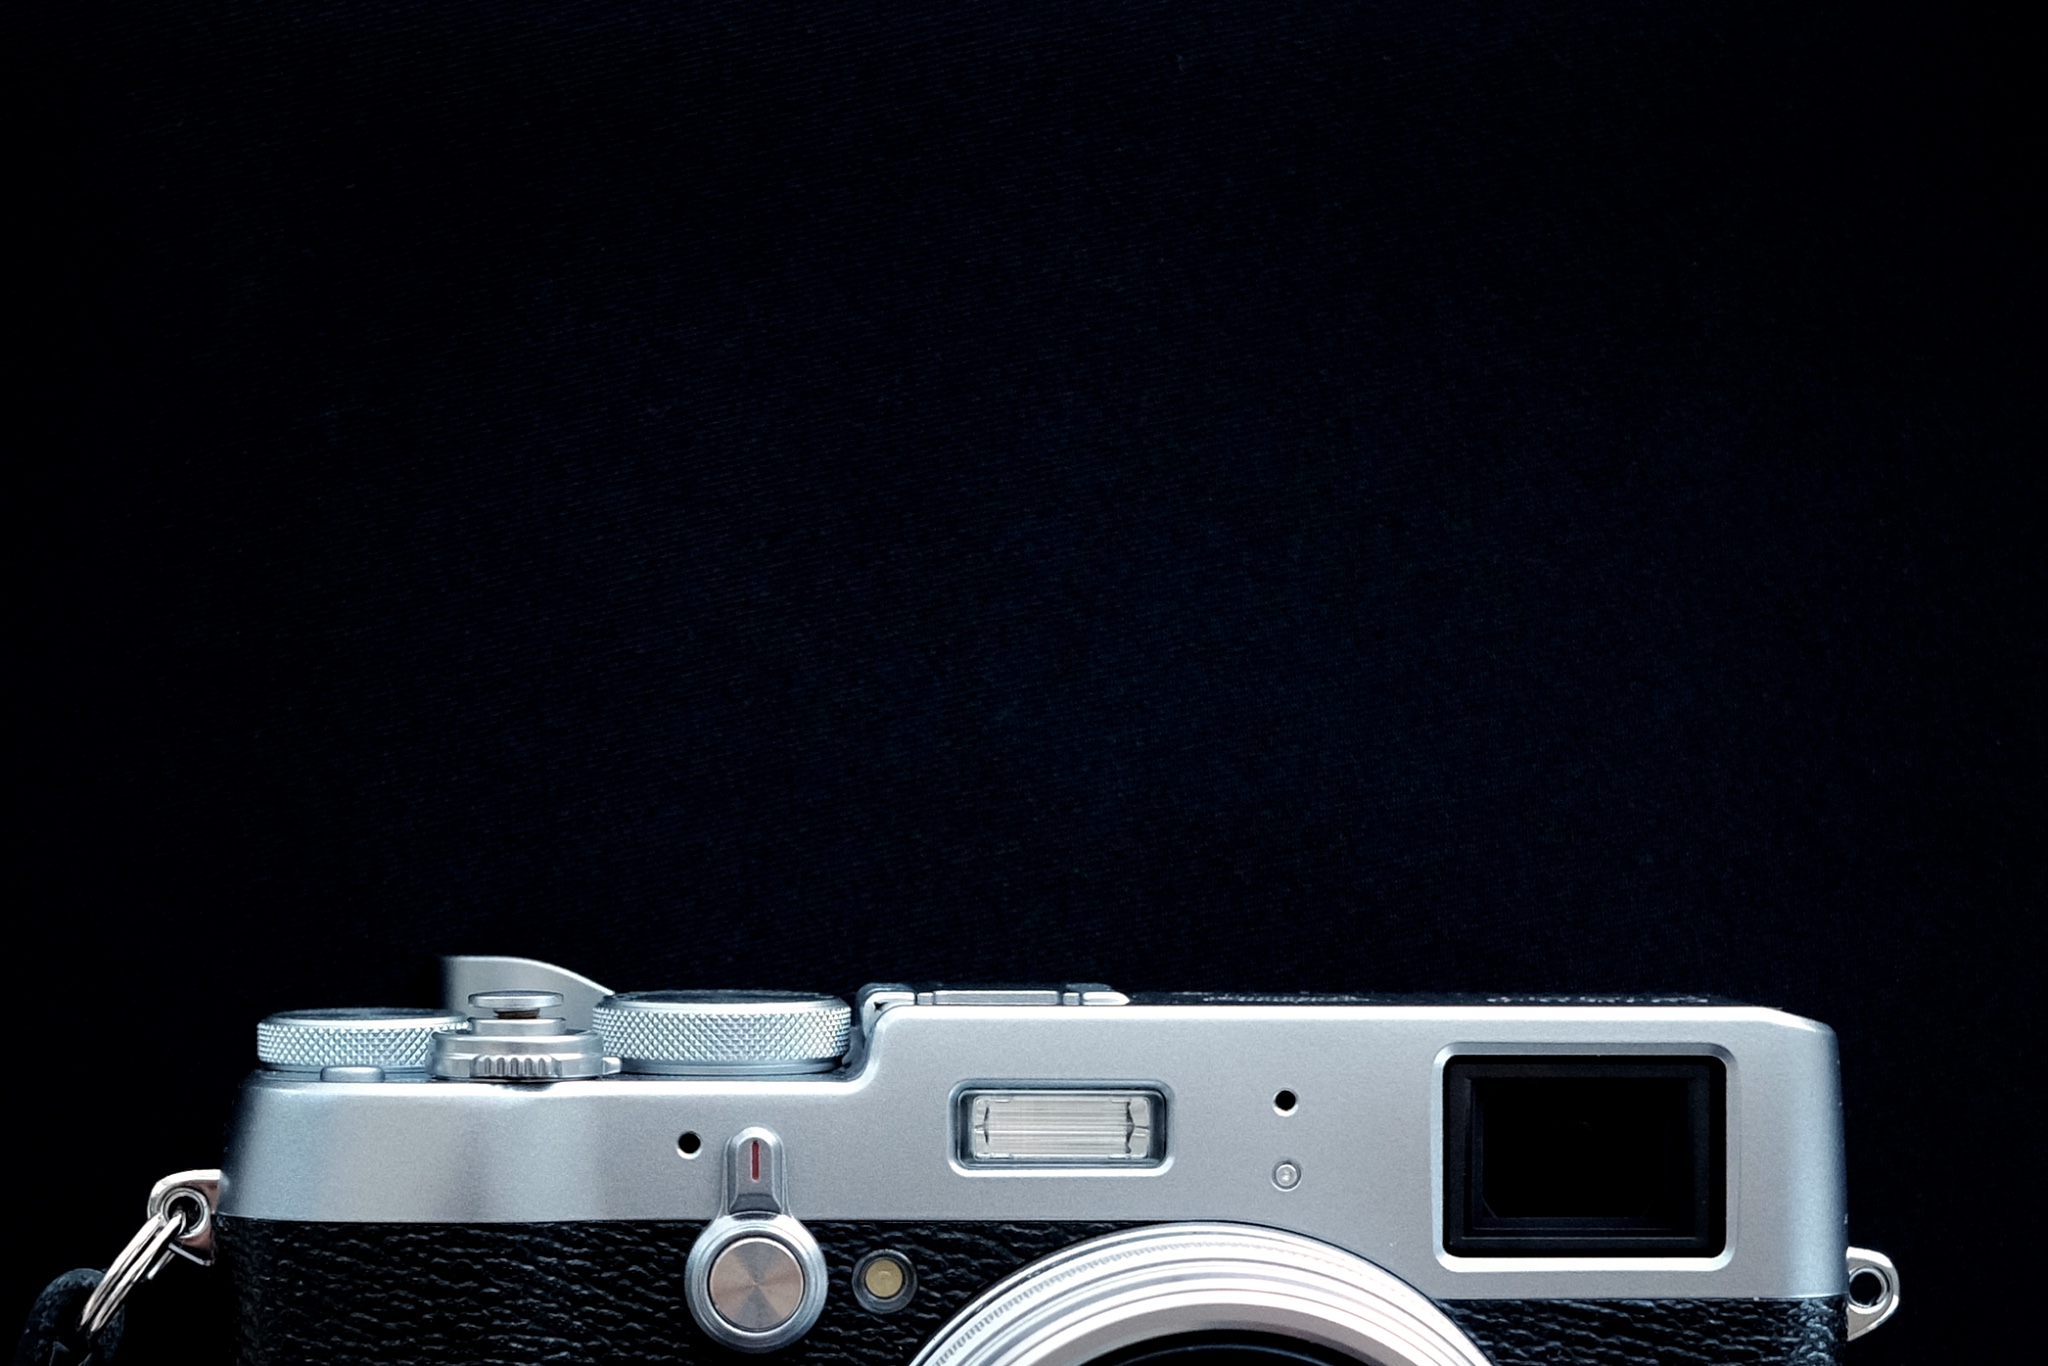
Everyone gushes about it, but it really is a beautiful little camera, a piece of industrial art. The latest refinements, particularly the enhanced viewfinder and new rear button design and layout, have pushed this camera closer to perfection. For me, as far as user experience goes, this camera is about as good as it gets, although I have added a Fujifilm thumb grip and a small soft release button – both of which I use on my X-E cameras as they dramatically improve the ergonomics of these types of camera bodies. I’ve also fitted a simple black leather wrist strap that will become more supple as it ages. It secures the camera but is less cumbersome than a neck strap. The X100 is small enough that it’s quite easy to carry around in the hand, which also acts as a buffer that protects the lens from any passing obstacles. I usually carry a small messenger bag fitted with a padded pocket that the X100 slides neatly into whenever I need to put it away. I also pack a spare battery, which is usually plenty for my shooting sessions. My iPhone’s loaded up with the Fujifilm Camera Remote app that works beautifully as a monitor and remote control when wanting to take a photo from a difficult angle or indulge in a selfie – who needs a flip-screen?
When not admiring its heft and finish and its remarkable viewfinder, I just want to pick it up and take photos. A century ago, the artist Wassily Kandinsky wrote that everything has a secret soul. I don’t know whether or not he was right about that, but the X100 really does seem more than the sum of its parts. Its makers have created a photographic tool that – as countless website reviews and forum comments indicate – stirs photographers’ own souls.
I shoot mostly on the streets and this machine is made for that type of photography. In the few weeks I’ve had with the X100T, I’ve found it to be a nimble camera, its auto-focusing abilities more than good enough for my needs, and its manual focusing tools equally responsive. I got comfortable with the EVF on the X-E camera, but I’m attempting to photograph on the streets primarily through the optical viewfinder set up in electronic rangefinder mode. I love, just love, the look of the classic chrome film simulation, so that’s what I’m currently shooting as my default jpeg setting and that’s what you’re seeing in the sample color photos.


The technique
My style of photography is quite focused on composition and many of my photos try to capture the harmony of planes, lines and forms, light and shade in a scene. The electronic finders in the X-E cameras are perfect in this regard, showing me exactly what a shot would comprise, how it would look. The X100T has a great EVF, but on the streets the OVF has its own advantages.
Considering the camera’s qualities and the 35mm equivalent field of view of its lens, I decided to try shooting the X100T using zone focusing, a technique I’m not overly familiar with but one that is a street shooting standard. Zone focusing is simply pre-focusing the camera to a certain distance, matched with a certain aperture, to produce a band of space, or zone, in the frame that is in varying degrees of focus. With the X100 lens, setting an aperture of f/8 – which seems to be an optimal choice for bright daytime shooting with an APS-C sensor – and focusing at a distance of 3 meters will ensure anything from about 1.5 meters to 30 meters away from the camera will be more or less in focus. Focusing at 4 meters shaves a bit off the near end but stretches the focus to infinity, while focusing at 1.5 meters gives a narrow field of focus from about 1 to 2.7 meters away from the camera.
So, armed with this knowledge – and a DoF calculator app – I took to the streets of Tokyo to try my luck with zone focusing.
Day 1 – Shibuya
The first day was a great day to be field testing on the streets. Mild, sunny winter weather, clear blue skies and the color and life of Tokyo’s Shibuya district. Early test photos showed – I did a lot of chimping that first day – that I needed to increase my shutter speeds to stop motion blur, so I set my ISO to Auto 1600 with a 1/125 minimum shutter speed. I was focusing around 2.5 – 3 meters and was having a fair amount of success. The traffic shot gives an idea of the depth of field at this distance. When the action got faster, as in the case of the skateboarder, I manually selected speeds of 1/250 or 1/500. As I got more confident with the technique I found myself adjusting focal distance as I approached potential subjects and realised that it would be great if the X100 had a distance scale marked on its lens for this kind of shooting. I think the best things about zone focusing are that it allows for more responsive shooting – literally just pointing and shooting – and it allows for a more discreet ‘from the hip’ style of shooting, as in the photo of the two women chatting in a doorway. This type of pre-focusing seems to create a looser style of shooting where, freed from the necessity to focus when you take a shot, you’re not so fixated about the framing and what’s in the finder, but more attuned to the scene around you, more in the zone.


Day 2 – Nakano
The weather had turned. The skies were grey, dull, drizzly. The air was icy, the rain almost sleet. Nakano is a residential and commercial district in western Tokyo. A narrow, cluttered grid of streets north of the train station is packed with small bars, restaurants and stores. It was 2 degrees when I headed out in the early afternoon. I thought how nice it would be if the X100T had come with weather sealing while I made do with an umbrella. I had opened up my aperture to f/5.6, kept the same ISO and shutter settings as the previous day and pre-focused to 3 meters. After some early misses I got back into the swing of zone focusing, though the narrower depth of field made it a little more challenging. With light fading, I decided to take the camera indoors and wandered around Nakano Broadway, a unique shopping mall famed for its many otaku oriented stores. Inside, the zone focusing technique worked well enough and again I varied the focal length depending on what I wanted to shoot, but in keeping a reasonable depth of field I found my shutter speed dropping. I think in this type of indoor setting, I’d prefer to either autofocus or lock onto my subject with the rear AFL focus assist button, which would enable me to open my aperture and maintain a fast shutter speed.


The next day was just as grey and miserable, an extension of the day before, though the afternoon temperature had climbed to 4 degrees. I decided to quickly walk the same streets with the same settings, only this time locking manual focus on my subjects with the rear AFL button. I kept my aperture at f/5.6 and in terms of focus the resulting photos were not too different to those I took the previous day. Inside, though, I set my aperture to f/4 and the increased shutter speeds and narrower depth of field meant that my subjects were sharper. By locking focus I also felt more confident that I would successfully get the shot.


Day 3 – Shinjuku
Finally the rain stopped. The next day I thought it would be good to try both the X100T and some zone focusing at night, so I wandered around Shinjuku’s atmospheric entertainment areas to capture some action. Manual focus is often easier to achieve than autofocus when it’s dark, though Shinjuku at night isn’t exactly dark. I set my ISO at 1600 and my aperture to f/3.6 and, using the OVF, I started snapping some shots. At some point I switched to the EVF and with the added clarity the zone focusing became quite easy, the shimmering focus peaking outlines letting me know what was in focus as I approached a scene. Some darker scenes could’ve used a higher ISO to avoid motion blur, but I was happy enough with the photos I had. My shots were a mix of action that I caught as I happened upon it, like the seafood seller and restaurant interior, or compositions I found and waited for people to appear, like the Pepsi vending machine shot. While the zone focusing was useful for the former shots, I think I’d prefer to manually lock focus on the latter and open the aperture further. It would also be nice to have the auto focus + manual focus capability that was added to the X-Pro1 and X-E cameras recently.


Conclusion
Zone focusing is a handy technique when sharpness and accuracy aren’t primary concerns. It must have been a wonderful technique in the days before cameras could autofocus, allowing photographers to point and shoot and capture scenes that would have otherwise been fleeting. As I stated earlier, in some ways it’s a liberating way to shoot, but I haven’t been converted. I generally like to work with narrower depths of field and prefer carefully framing my compositions through the finder. I don’t much like shooting from the hip nor do I generally like to use the rear LCD. In the end zone focusing is another useful tool in the kit and for that reason I think it’s worth trying to master. The ‘set and forget’ approach opens up opportunities for shots that may be difficult to get otherwise and for some types of photography it could be the best way to operate. In 2015, we’re lucky that modern cameras, with their electronic genius, offer the photographer so much more support than the old analog tools ever could, so we can choose the setup or technique that best fits the shot.
The X100T? I love this camera. By any measure there are ‘better’ cameras out there, but this camera comes very close to verifying Kandinsky’s claim that even material objects have a soul. If I’m looking for a tool, to use on the street or during my travels, I know I can get a camera with faster auto-focus, a bigger sensor, more versatile controls, better lenses, more refined video capabilities, but I don’t care. This compact little work of art can – as it accompanies me almost everywhere, attached to my wrist, in a jacket pocket or in a small bag – help me to photograph almost everything I want to capture with elegance and quality. If we look back through the history of photography, we can see hundreds, thousands, of photographic masterpieces, most of them made with comparatively primitive tools. For the rest of us photographers, to be able to work and play with something like the X100T is almost like being handed a magical device.
